Introduction
This is going to be a quick post on an area of MakerBot maintenance.
In an earlier post I mentioned our printing co-operative was planning on having a training session. Due to illness though half of the co-op was out that day so we postponed the training session. As a result of this I decided to change out one of the spools of printing material and in the process encountered a problem that seems to be fairly common amongst MakerBot owners – jammed print material.
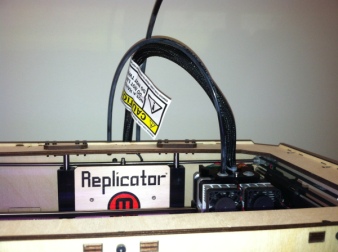
Changing the print material
Following the regular instructions for removing the print material (this is available on the print menu for the Replicator), I removed the spool. I then loaded the new spool of material and ran through the instructions for re-loading the plastic.
Changing print material
At this point I noticed a vibrating noise, and notice that the material wasn’t being fed into the stepstruder correctly. Pulling the plastic out revealed marks on it that suggested that the motor that pulls the print material through was grabbing the plastic, however something was preventing it from being fed through for heating.
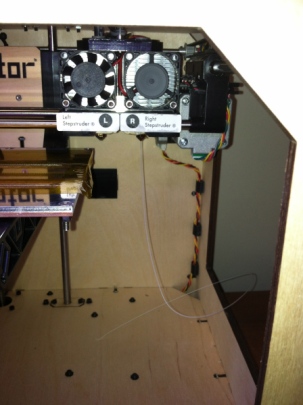
Taking the allen keys provided with the MakerBot I took apart the right stepstruder – you can read and watch instructions on how to do this here.

Removed bolts
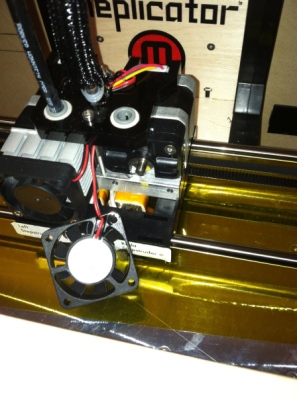
Fan removed
Once removed I was able to see that the white plastic had snapped off and jammed when I had unloaded it, you can see the jammed plastic in the photo below to the left of the Delrin plunger:
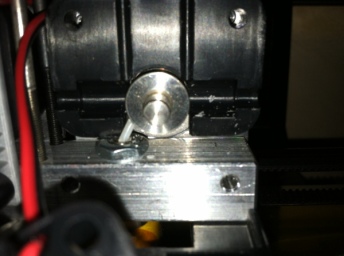
Jammed plastic
Using a pair of needle nosed pliers, I was able to remove enough of the plastic, so that when I reloaded the spool it would be fed in correctly.
After re-assembling the stepstruder, I reloaded the original white spool and ran through the instructions on the MakerBot menu again:
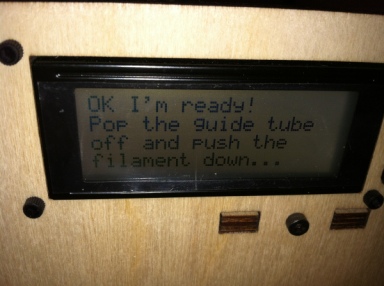
MakerBot Menu
Thankfully this worked and we can see the print material once again being run through the stepstruder.
Printing once again
Conclusion
When unloading the print material be careful that it doesn’t snap off and jam in the stepstruder. If you noticed after changing the spool you have a problem with the new spool being fed through, then try the steps above to check if you have a jam, and fix it.

